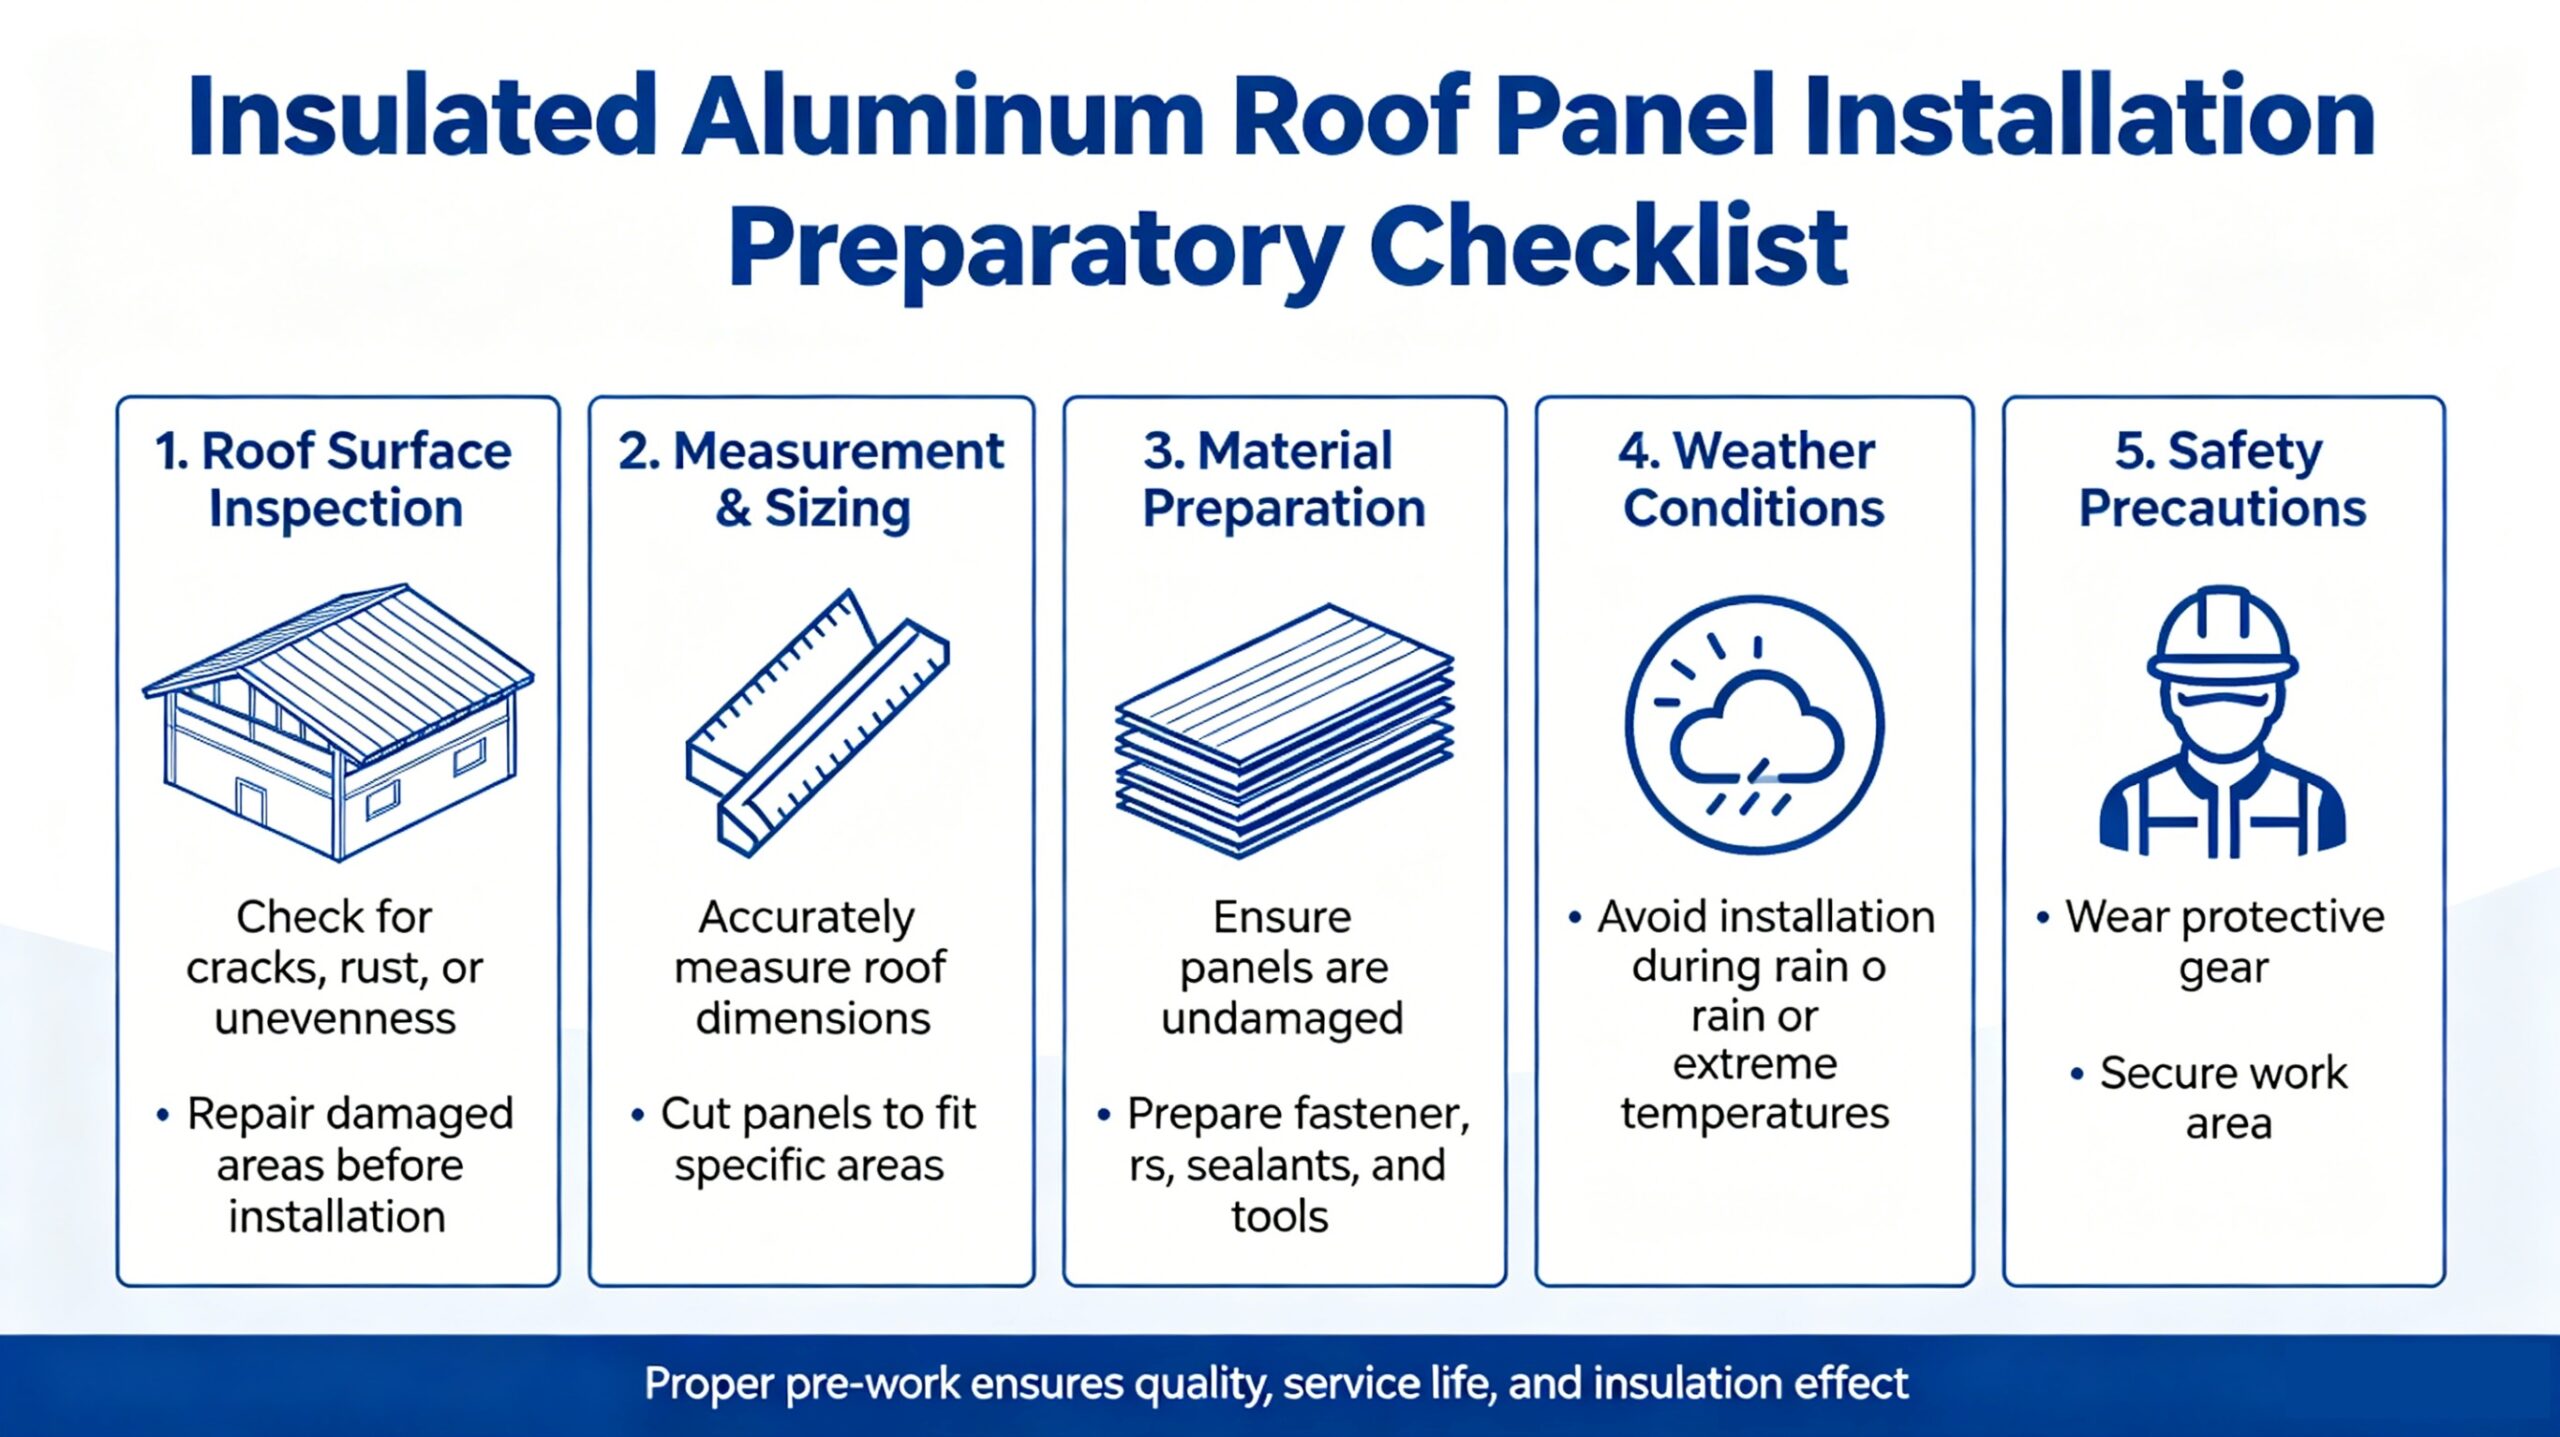
How to Prepare Before Installing Insulated Aluminum Roof Panels in Turkey
Insulated aluminum roof panels are widely used across Turkey for homes, small shops, warehouses, workshops and farm buildings.
They keep interiors cool in hot summers, warm in cold winters, and deliver excellent waterproof and anti-rust performance.

Many property owners wonder: What preparations do I need to finish before installing insulated roof panels?
Proper pre-work directly affects installation quality, service life and overall insulation effect. This guide shares a full checklist to help you get fully ready before construction starts.
1. Confirm Local Climate & Choose the Right Panel Thickness
Turkey has diverse climates across different regions, so select suitable panel specifications first.
- Southern & Coastal Areas (Antalya, İzmir): Hot summers, mild winters. 50mm panels are enough for daily heat insulation.
- Central Turkey (Ankara, Konya): Extreme summer heat and cold winters. 75mm panels are the most practical all-round choice.
- Southeastern & Northern Cold Regions (Diyarbakır, Kars): Severe high temperature in summer and freezing cold in winter. Choose 100mm thick panels for maximum thermal performance.
Also confirm panel core material: High-density PIR/PUR foam is recommended for stable insulation under Turkey’s dramatic temperature changes.
2. Measure Roof Size & Calculate Exact Material Quantity
Accurate measurement avoids material waste or shortage.
- Measure the length and width of the entire roof surface, calculate the total area.
- Reserve 3%–5% extra panels for cutting, joints and edge trimming.
- List supporting accessories: sealing glue, fasteners, edge trims, gutter parts and waterproof strips.
- Order all materials in advance and arrange delivery to the construction site.
3. Inspect the Original Roof & Structural Base
A solid base is the foundation for long-lasting installation.
- Check the original roof frame, beams and supports: Make sure they are firm, rust-free and can bear the weight of aluminum panels. Reinforce loose or damaged parts first.
- Remove old roof tiles, iron sheets, broken materials and accumulated debris completely.
- Level the roof surface. An uneven base will cause gaps, water leakage and poor fitting.
- Repair existing water leakage, mold or rust problems before laying new panels.
4. Check Weather & Arrange Construction Time
Turkey has frequent sunshine, strong wind and seasonal rainfall. Choose a proper construction period:
- Avoid rainy, windy or foggy days. Wet surfaces affect adhesive and sealing effects, leading to future leaks.
- The best time: Sunny and calm days, with temperatures between 10°C and 32°C.
- For peak hot seasons (July–August), arrange construction in early morning or late afternoon to avoid extreme heat.
- Confirm the construction schedule and ensure continuous work once it starts.
5. Prepare Installation Tools & Safety Equipment
Gather all tools beforehand to ensure smooth construction:
Basic Tools
Tape measure, cutting machine, electric drill, screwdriver, hammer, level ruler, caulking gun and hand saw.
Safety Supplies
Safety helmets, anti-slip work shoes, safety ropes, protective gloves and goggles. Roof installation belongs to high-altitude work; never ignore safety protection.
6. Clear the Surrounding Construction Area
- Clean up the yard around the building to reserve enough space for panel stacking and moving.
- Place panels on flat, dry ground, keep them away from direct ground moisture and sharp objects to prevent scratches or deformation.
- Keep children and unrelated personnel away from the working area to avoid accidents.
7. Learn Basic Installation Rules or Hire Professional Teams
You have two options for installation: DIY or professional contractors.
- DIY: Read the English/Turkish installation manual carefully. Learn standard laying order, joint sealing and fixing methods. Do not leave gaps between panels.
- Professional team: Choose local experienced roof installers. Communicate your requirements clearly, including drainage direction, edge handling and waterproof details.
Key reminder: All panel joints and wall connections must be fully sealed to resist Turkey’s heavy rain and strong wind.
8. Plan Post-Installation Protection
- After installation, do not walk or place heavy objects on the new roof within 24 hours.
- Check all seals and fasteners again one day after construction.
- Reserve spare panels and accessories for future maintenance.
Full Pre-Installation Checklist Summary
- Select correct panel thickness based on local climate
- Measure roof area and calculate total materials & accessories
- Inspect, repair and level the roof structure
- Pick sunny, windless days for construction
- Prepare tools and full safety gear
- Clean site and stack panels properly
- Confirm installation methods or professional workers
- Arrange post-installation inspection and protection
Conclusion
Full preparation before installation can save time, reduce costs and guarantee the long-term performance of insulated aluminum roof panels.
No matter you own a house, shop or warehouse in Turkey, follow the above steps to get everything ready.
With proper preparation and standard installation, your insulated roof will stay cool in summer, warm in winter, waterproof and durable for decades.